Magnetic Eddy Current Complex MEC-TSC
4 measuring channels
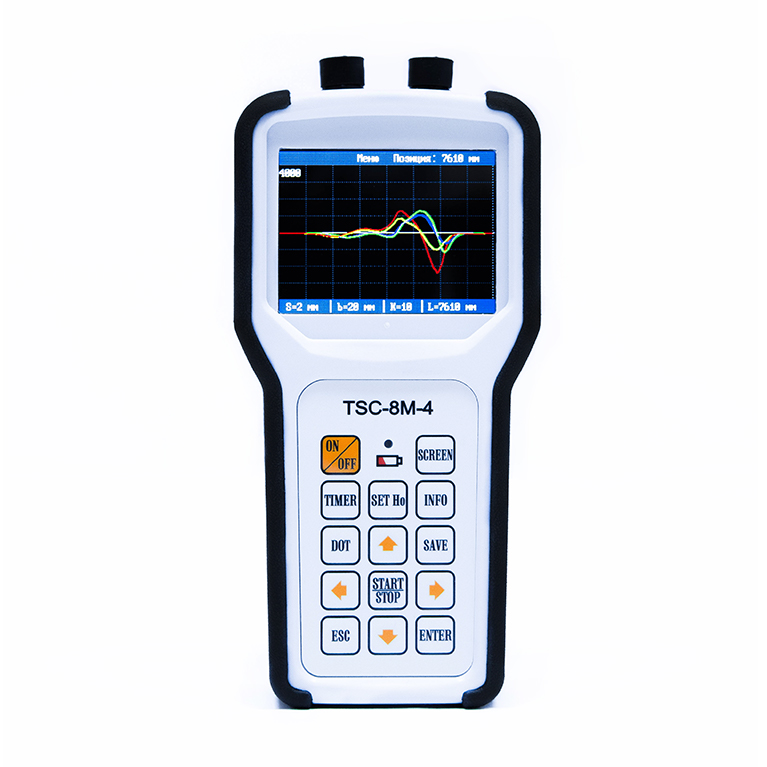
Magnetic Eddy Current Complex MEC-TSC based on the TSC-8M-4 instrument combines the functions of magnetic (metal magnetic memory method) and eddy current testing.
Certificate No. 20675-11 for TSC-type instrument
Conformity declaration EAEU N RU Д-RU.РА04.В.89293/22
In stock
Contact the company manager to order
Eddy Current Testing Mode
When the Type 1-MEC-4 scanning device is connected to the TSC-8M-4 instrument, it operates in the magnetic eddy current testing mode with the following main functions:
- detection and inspection of the crack depth in magnetic and non-magnetic metals and alloys;
- inspection of the metal structure inhomogeneity, spray, surfacing adhesion density, etc.;
- quality control of products made of composite materials;
- quality control of thermal, thermochemical treatment, machining and other treatments of products;
- stress-strain state control of products made of magnetic and non-magnetic materials;
- quick products sorting by various quality parameters, for example, by hardness parameters, in case an appropriate technique is available.
The above functional capabilities of the TSC-8M-4 instrument complete with the Type 1-MEC-4 are qualitative. The magnetic eddy current instrument output signal can be calibrated in nominal scale units to a specific diagnostic parameter (for example, to crack depth for the same-type products) or to relative comparison of different test zones of a product (for example, during the inspection of sprays or surfacings adhesion). To develop quantitative criteria for each instrument function, it is necessary to develop an additional technique for each specific product. Such techniques may be developed by the customer independently.

Mode of Inspection Using the Metal Magnetic Memory Method
When the Type 1, Type 1-4E, Type 2M, Type 3M, Type 3M-4W, Type 4M, Type 5 scanning devices are connected to the TSC-8M-4 instrument, it measures the self-magnetic stray field of products and detects stress concentration zones.
In this mode the TSC-8M-4 instrument performs the functions of measuring, recording and processing the data of equipment and structures' stress-strain state diagnostics using the metal magnetic memory method.

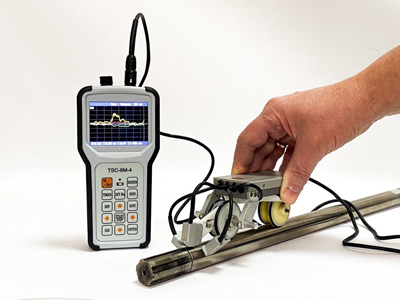
using the Type 1-4E scanning device

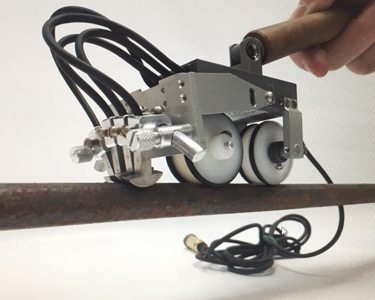
with Type 1-MEC-4 scanning device
Technical data:
| Dimensions of the detected defect for ferromagnetic metals and alloys, not less: | Width | 0,002 mm |
| Length | 3 mm | |
| Dimensions of the detected defect for non-magnetic metals and alloys, not less: | Width | 0,004 mm |
| Length | 3 mm | |
| Measurement range of a crack-like defect depth | 0,2 - 10,0 mm | |
| Admissible absolute error of the defect depth measurements | ± 0,1 mm | |
| Number of measurement channels | 4 | |
| Measurement range of the magnetic field H | ± 2000 A/m | |
| Basic relative error of the measured magnetic field for each channel, not more | 5 % | |
| Relative error of the measured length, not more | 5 % | |
| Scanning speed, not more | 0,5 m/s | |
| RAM | 1 Mb | |
| Flash-memory | 8 Mb | |
| Data transfer to the computer | via USB port | |
| Color liquid-crystal display | 320 х 240 pixels | |
| Power supply from integrated storage batteries or adapter | DC 5 V | |
| Power consumption | 1,2 - 3,0 W | |
| Continuous operation time, not less | 4 hours | |
| Operation temperature | -15 - +55°С | |
| Relative humidity | 45 - 85% | |
| Dimensions | 165x83x32 mm | |
| Weight | 0,4 kg | |
